The problem of iMessage displaying the old or wrong phone number mostly occurs while trying to use iMessage or FaceTime for the first time, after switching to a new phone number.
The same problem is also reported by users trying to activate iMessage for the first time on a second hand or used iPhone.
iMessage Displaying Old or Wrong Phone Number
In most cases, the problem of iMessage displaying the old or wrong phone number can be fixed by using the following troubleshooting steps.
1. Enable/Disable iMessage
In many cases, the problem can be fixed by disabling iMessage and enabling it back again.
1. Go to Settings > Messages > Disable iMessage by moving the toggle to OFF position.
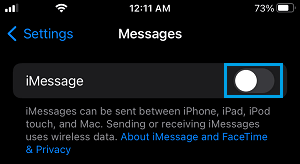
2. Wait for 30 seconds > Enable iMessage back on your device.
2. Associate New Phone Number With iMessage
This method requires you to disable iMessage, Power OFF iPhone, wait for 5 minutes and re-enable iMessage back on your iPhone.
1. Go to Settings > Messages > switch off iMessage.

2. Go to Settings > General > Shut Down > use the Slider to Power OFF iPhone.
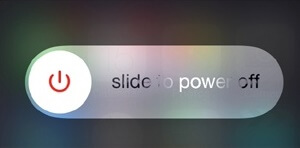
3. Patiently wait for 5 minutes and Power ON iPhone by pressing the Power Button.
4. After the phone restarts, go to Settings > Phone > make sure your correct Phone Number is displayed next to “My Number”.
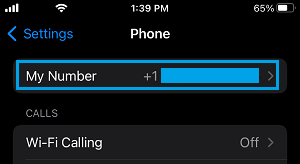
5. After this, go to Settings > Messages > switch on iMessage by moving the toggle to ON position and make sure your correct Phone Number is displayed next to “Send & Receive”.
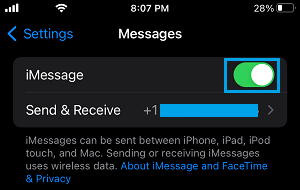
As mentioned above, the above steps can help in associating the right Phone Number with Apple iMessage service.
3. Sign-out/Sign-in Back in to Apple ID
The next fix for the problem is to Sign out of iMessage and Sign back in.
1. Open Settings > tap on your Apple ID Name.
2. Scroll down to bottom of the screen and tap on Sign out.
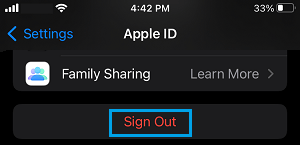
2. Enter your Apple ID password > On pop-up, select/unselect the type of iCloud Data that you want to copy on your device and tap on Sign Out.
3. After you are signed-out, wait for 30 seconds > Sign-in back into iPhone by tapping Sign-in to your iPhone option.
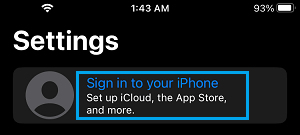
4. After you are Signed-in, go to Settings > Messages and see if your correct Phone Number is now being displayed next to Send & Receive.

4. Import SIM Card Contacts
Some users have reported fixing the problem by importing SIM Contacts to iPhone.
1. Go to Settings > Contacts > tap on Import SIM Contacts.
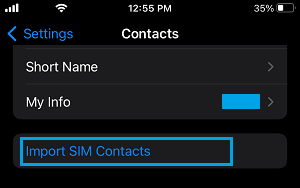
2. After importing Contacts, go to Settings > Messages and see if your phone number is listed next to Send & Receive entry on the Messages screen.