By default, iPhone takes pictures in HEIC/HEIF format which can create compatibility problems while uploading or sharing photos on certain websites.
Although, the HEIC file format as used by Apple on its devices saves storage space, it is not as compatible or widely accepted as .PNG or .JPG File format.
Hence, we are providing below 2 easy methods to convert HEIC Photos to JPG format on your iPhone or iPad.
1. Transfer HEIC Photos From iPhone to Mac in PNG Format
Perhaps, the easiest way to Convert HEIC Photos to PNG is to setup your device to automatically transfer photos and videos in a compatible format.
1. Open Settings > scroll down and tap on Photos.
2. On the next screen, scroll down to “Transfer to Mac or PC” section and select the Automatic option.
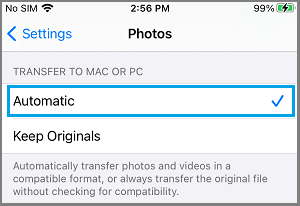
Now, whenever you Transfer Photos from iPhone to Mac or Windows computer, they will always be saved in .PNG or .LPG File formats.
2. Convert HEIC Photos to PNG on iPhone Using Files App
All that is required to convert HEIC Photos to PNG on iPhone is to open Photos App and copy the photos to Files App.
1. Open the Photos App on your iPhone and tap on the Select option.
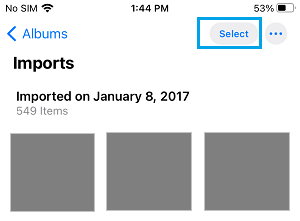
2. Select the Photo/Photos that you want to convert to PNG format and tap on the Share Icon located in the bottom-menu.
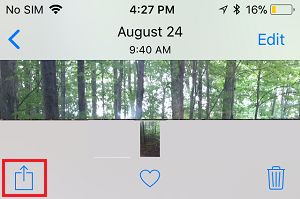
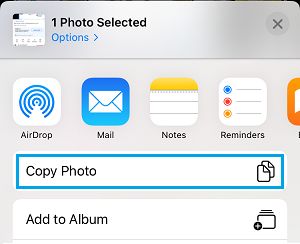
3. From the slide-up menu that appears, select the Copy Photo option.
4. Next, open the Files App on your computer.
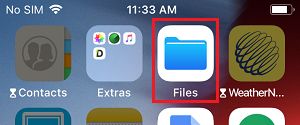
5. On the next screen, tap on the Browse tab in bottom-menu and select your desired save location (On My iPhone or iCloud Drive) to paste the copied Photos.
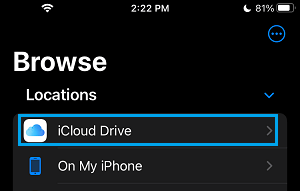
6. Once you are in your desired save location, Long-press anywhere and select the Paste option.
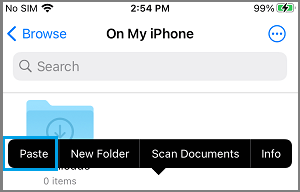
The selected Photo/Photos will be saved to the Files App in widely accepted PNG File Format.
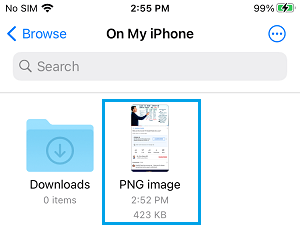
You can use this method anytime you come across a website that does not accept files in HEIC File format.